

Build a Blogging website using Node, Express and MongoDB: Part 1
Project based learning blog.


Whether you want to revise the concepts of the above-mentioned tech stack or want to learn them, trust me, it is a golden opportunity for both types of folks. So we will learn/revise by building a Blog website.
Node
Express
MongoDB
What is Node?
Node.js is an open-source, cross-platform, JavaScript runtime environment that executes JavaScript code outside of a web browser. Node.js is a popular, lightweight web framework for beginners, and it is used by many big companies like Netflix and Uber.
What is Express?
As per GFG, Express.js is a small framework that works on top of Node.js web server functionality to simplify its APIs and add helpful new features. It makes it easier to organize your application’s functionality with middleware and routing. It adds helpful utilities to Node.js HTTP objects and facilitates the rendering of dynamic HTTP objects.
What is MongoDB?
MongoDB is an open-source document-oriented database that is designed to store a large scale of data and also allows you to work with that data very efficiently. It is categorized under the NoSQL (Not only SQL) database because the storage and retrieval of data in the MongoDB are in the form of key-value pairs.
Lets Code!
Make a folder on your local laptop. Make sure you have downloaded Node which you can check by seeing the version using the command node -v in a terminal. If not, here's the link Download | Node.js (nodejs.org). Make a GitHub repo and copy the following commands in the terminal of the folder
echo "# Blog---MEN-Stack" >> README.md
git init
git add README.md
git commit -m "first commit"
git branch -M main
git remote add origin https://github.com/srummanf/Blog---MEN-Stack.git
git push -u origin main
Here https://github.com/srummanf/Blog---MEN-Stack.git refers to my GitHub repository
Then open the folder in any Code Terminal like VSCode or Atom. We will now initialize the Node project and download the necessary dependencies, in the terminal of the folder type
npm init -y
npm i bcrypt connect-mongo cookie-parser dotenv ejs express express-ejs-layouts express-session jsonwebtoken method-override mongoose
npm i nodemon --save--dev
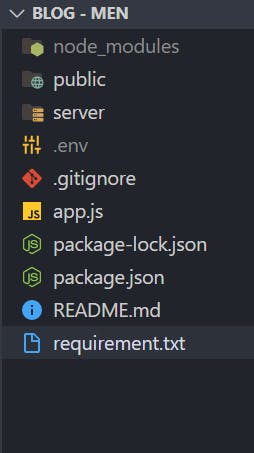
After that create .env file where we are going to save the private data that only the project admin can see (eg: the primary key for MongoDB, hidden API key). Then create a .gitignore file to prevent uploading the node modules to your GitHub repo. Copy the text from the link gitignore/Node.gitignore at main · github/gitignore · GitHub and add it in the .gitignore file. After this create two folders - public and server. In public folder we will be saving our CSS, JS and images. In server folder, we will be explicitly creating routes. Create a requirement.txt file and add the node dependencies installing command. Create a app.js file where we will be adding our main code. By now your folder structure should look like this.
Hope till now, you are doing it according to the blog.
We will be making few changes in script dict of package.json.Your script dict should look like this

"scripts": {
    "test": "echo \"Error: no test specified\" && exit 1",
    "start": "app.js",
    "dev": "nodemon app.js"
  },
Now let's deep dive into code
For development and production we will run npm run dev
For deployment we will run npm run start
// app.js

require('dotenv').config();

const express = require('express');
const expressLayouts = require('express-ejs-layouts');


const app =  express();
const port = 5000 || process.env.PORT;

app.use(express.static('public'));

// Templating engine
app.use(expressLayouts);
app.set('layout','./layouts/main');
app.set('view engine', 'ejs');

app.use('/', require('./server/routes/main'))

app.listen(port,(req, res) => {
    console.log(`Server is running on port ${port}`);
});
Now let us go through the explanation of each code.
require('dotenv').config(); is used to import any hidden identifier which is only specific to the developer.
const express = require('express'); is used to import express dependency to our project.
const expressLayouts = require('express-ejs-layouts'); is used to import express-ejs-layout dependency to our project.
const app = express(); is used to create an instance of express.
const port = 5000 || process.env.PORT; is used to specify which port number you want to host the web app. If you are using any domain service from a third-party company(eg: GoDaddy, Hostinger), then you have to add the port address inside the .env file in a variable named PORT which will only be visible to you and won't be visible in your GitHub repo.
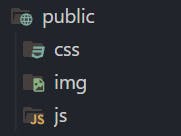
app.use(express.static('public')); is used to explicitly inform the express application that all static files (CSS, JS and Images) would be available in the public folder. Make a separate folder for CSS, JS and Images inside the public folder.
// Templating engine
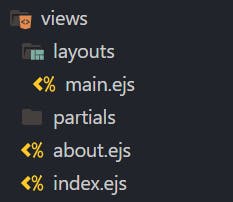
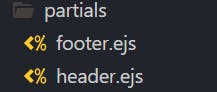
app.use(expressLayouts); explicitly informs the web app to use expressLayouts which we previously imported. app.set('layout','./layouts/main'); explicity informs the web app to look for all the HTML Layfolder outs from ./layout/main directory. So create a folder named views ,inside views folder make a folder named layouts and inside layout create a file main.ejs . In views folder create a folder named partials where we will be saving snippets for header, footer and such other and two files index.ejs and about.ejs . Also in partials folder, add two files named footer.ejsand header.ejs
app.set('view engine', 'ejs'); is used to set the templating engine, meaning how JS will be interpreting the file as ( Just like we set up Python Interpreter for Python Project, same idealogy), here it will look for ejs template for rendering
app.use('/', require('./server/routes/main')) is used to inform the app where to look for routes. Instead of app.use('/home', (req,res)=>{...}); we are creating a separate folder for routes to maintain better code readability. So create a routes folder inside server folder. Inside route folder, create a main.js file.
Lets understand EJS templating now
What is EJS templating
EJS is a simple templating language that lets you generate HTML markup with plain JavaScript. <%= token %> is the template tag.
EJS -- Embedded JavaScript templates Read here to learn more
Coming back to coding
Add the following code snippet inside main.js
const express = require('express');
const router = express.Router();

//Routes
router.get('/home', (req, res) => {
    res.send('Hello World');
});

module.exports = router;
Now let us go through the explanation of each code.
We will again import express dependency.
const router = express.Router(); is used create an instance of Router dependency which will help us to save routes.
//Routes
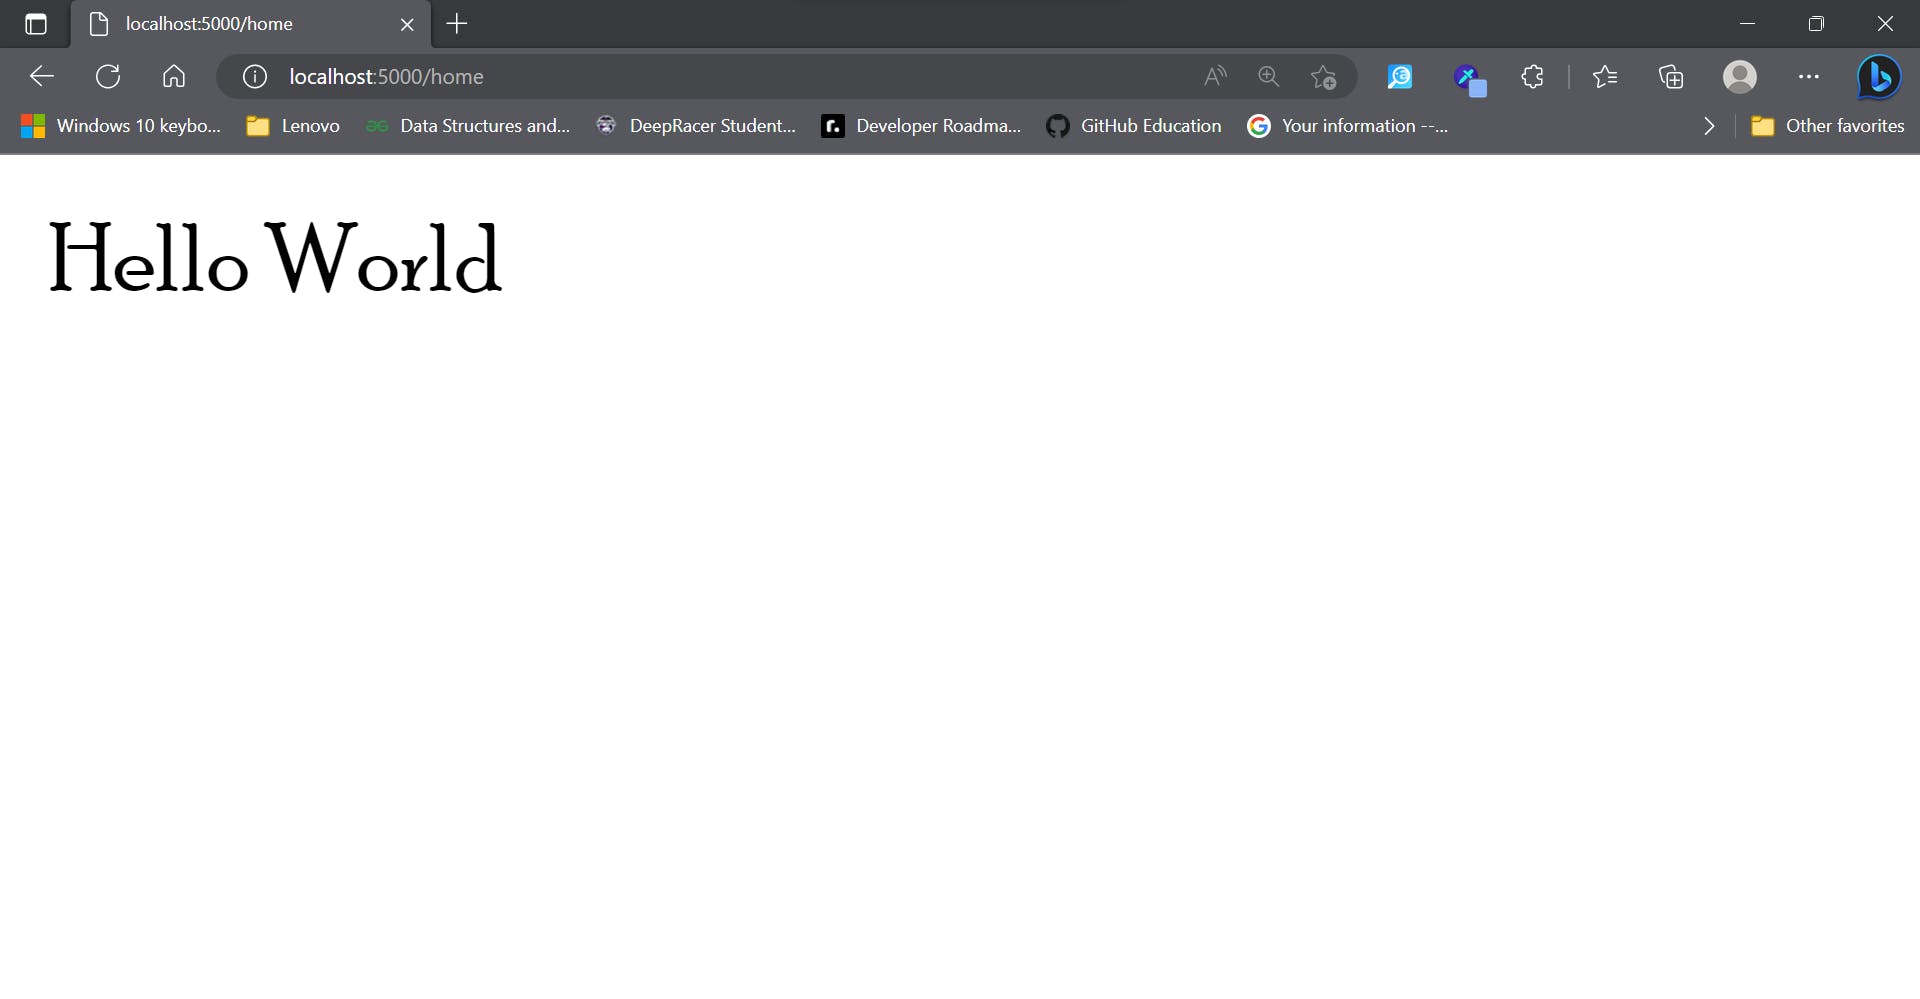
router.get('/home', (req, res) => { res.send('Hello World'); }); is a sample routing structure code.
module.exports = router; is used to export the router to the app.js. So in app.js file,
require('./server/routes/main') imports the router
To check whether the code is working or not, go to terminal and type,
npm run dev
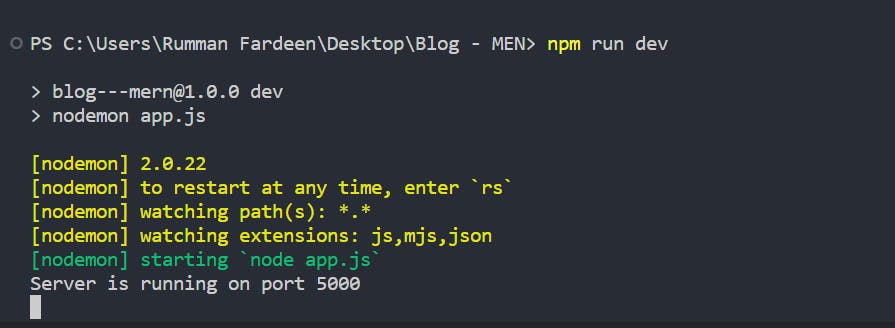
In your browser, type localhost:5000/home and you can see the server deployed.
We will update our main.js file which is in the routes folder
const express = require('express');
const router = express.Router();

//Routes
router.get('', (req, res) => {
    const locals ={
        title: "NodeJs Blog",
        description: "Simple blog using MEN",
    }

    res.render('index', {locals});
});

router.get('/about', (req, res) => {
    res.render('about');
});

module.exports = router;
Let's breakdown the updated code
router.get('', (req, res) => {
const locals ={ title: "NodeJs Blog", description: "Simple blog using MEN", }
res.render('index', {locals}); }); will render index.ejs file which is in the layout folder
Now, we will write some code in the EJS files. The commented line in the first line designate in which file it should be added
<!-- footer.ejs -->
<footer class="footer">
© <%= new Date().getFullYear(); %> Rumi Built it
</footer>
<!-- header.ejs -->

<header class="header">
    <a href="/" class="header_logo">
        NodeJS
    </a>
    <nav class="header_nav">
        <ul>
            <li>
                <a href="/" class="">Home</a>
                <a href="/about" class="">About</a>
                <a href="/contact" class="">Contact</a>
            </li>
        </ul>
    </nav>
    <div class="header_button">
        <button class="searchBtn" aria-expanded="false">
            Search
            <svg width="17" height="17" viewBox="0 0 17 17" fill="none" xmlns="http://www.w3.org/2000/svg">
                <path
                    d="M7.79167 13.4583C10.9213 13.4583 13.4583 10.9213 13.4583 7.79167C13.4583 4.66205 10.9213 2.125 7.79167 2.125C4.66205 2.125 2.125 4.66205 2.125 7.79167C2.125 10.9213 4.66205 13.4583 7.79167 13.4583Z"
                    stroke="black" stroke-width="2" stroke-linecap="round" stroke-linejoin="round" />
                <path d="M14.875 14.875L11.7938 11.7938" stroke="black" stroke-width="2" stroke-linecap="round"
                    stroke-linejoin="round" />
            </svg>
        </button>
    </div>
</header>
<!-- index.ejs -->
<div class="author">
<h1 class="author_heading">Hi, I am Rumi</h1>
<p class="author_body">Lorem ipsum dolor sit amet consectetur adipisicing elit. Fuga cumque earum optio!</p>
</div>
<img src="/img/hero_image.webp" alt="Rumi" class="hero_image" width="981" height="528">
<section class="articles">
<h2 class="articles_heading">Latest Post</h2>
<ul class="article_ul">
<li>
<a href="#"><span>Post</span>
<span class_list_date>Date</span>
</a>
</li>
</ul>
<a href="#" class="pagination"> < View Older Posts</a>
</section>
<!-- about.ejs -->

<p>Lorem ipsum dolor sit, amet consectetur adipisicing elit. Eaque necessitatibus odio odit in doloremque. Odit, ut? Ab
    consequatur rerum magnam molestiae quis, provident odio? At animi quaerat ipsam delectus dolor perferendis earum
    temporibus quisquam.</p>
<!-- main.ejs -->

<!DOCTYPE html>
<html lang="en">

<head>
    <meta charset="UTF-8">
    <meta http-equiv="X-UA-Compatible" content="IE=edge">
    <meta name="viewport" content="width=device-width, initial-scale=1.0">
    <title>
        <%= locals.title %>
    </title>
    <link rel="stylesheet" href="/css/style.css">
    <meta name="description" content="<%= locals.description %>">
    <script type="text/javascript" defer src="/js/script.js"></script>
</head>

<body>
    <div class="container">
        <%- include('../partials/header') %>
            <main class="main">
                <%- body %>
            </main>
            <%- include('../partials/footer') %>


    </div>

</body>

</html>
Lets understand how these snippet works.
main.ejs is the main file that will be rendered, so in this file, we are going to call other components such as the footer and header. That was the reason why we created partials folder that will be saving components that will be used mostly in every page. index.ejs will be rendered when the route is localhost:5000/ and about.ejs will be rendered when the route is localhost:5000/about.
header.ejs, footer.ejs, index.ejsand about.ejs simply contains the necessary tags which are used inside body tag usually in HTML. No big deal!
But there is an explanation for main.ejs
Here, we include the html tag, head tag and body tag (regular code which we write in HTML). For now, we will understand the body tag, head tag will be covered later in the blog. Using <%= token %> tag we import the footer and header, <%- body %> is used to import the actual file to be rendered that is index.ejs and about.ejs
Now let's re-write the router file that is main.js
const express = require('express');
const router = express.Router();

//Routes
router.get('', (req, res) => {
    const locals ={
        title: "NodeJs Blog",
        description: "Simple blog using MEN",
    }

    res.render('index', {locals});
});

router.get('/about', (req, res) => {
    res.render('about');
});

module.exports = router;
router.get('', (req, res) => {
const locals ={
title: "NodeJs Blog", description: "Simple blog using MEN",
}
res.render('index', {locals});
}); locals is an object that can be shared with a list of key-value items to be used on the page. Here we declare the title of the page as NodeJS Blog and its description. We can declare as many objects as we want. We pass the objects in a {} braces in render param.
Now I can explain head tag in main.ejs
<title> <%= locals.title %> </title> in the title tag, I am importing the title value which was in local object. Similar is the explanation for meta atg woth description value.
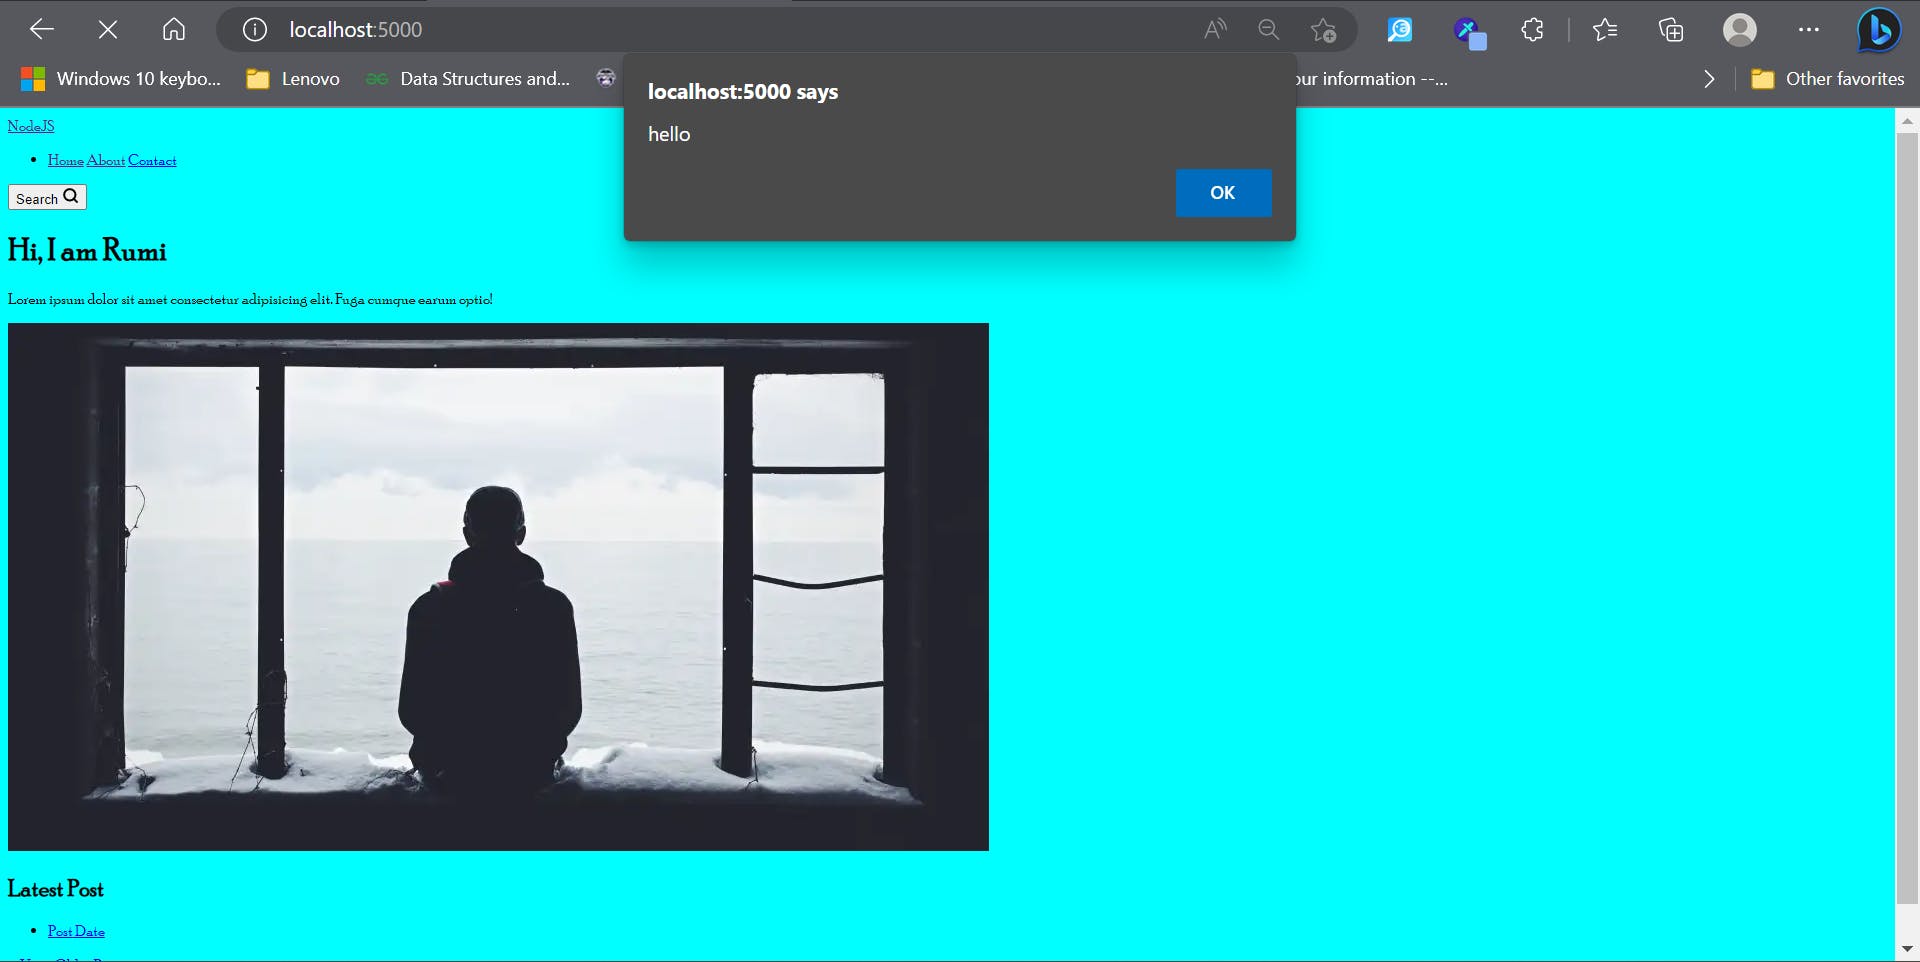
Now Lets add some CSS, Image and JS to check whether our template is working. You can download the image form my Github Repo srummanf/Blog---MEN-Stack (github.com)
body {
    background-color: aqua;
}
alert("hello");
Here's your folder structure so far

It should look like this. If yes that means you are doing well and the code is going smooth.
If not dont worry, read the blog properly again and refer to my Github repo srummanf/Blog---MEN-Stack (github.com)
We will continue the project in our next blog. See you soon in my next blog.
Don't forget to give your opinion. It is highly valuable for my upcoming blogs
Follow me on