Basics of API
Introduction to Postman by Shaikh Rumman Fardeen

I am a CSE Undergrad from VIT Chennai and I am a Frontend Developer using React and Backend Developer using Django and UI/UX Designer. I am looking for to learn more about Machine Leaning. A Philomath and extrovert by nature.
Every Sunday's we usually go out with friends or family to hang out and take a break from the regular routine life. But for a coder, ah that's not we aim for We are always thriving to learn things, building projects and a cup of coffee is all we desire. Similarly to make this Sunday productive, Postman Student Expert from VIT Chennai-Fidal Matthew organized a webinar on "APIs 101 with Postman Workshop".
Now, what is an API?
I hope we all have visited restaurants right, to have our favorite biryani or lachedaar paratha with paneer. We know that the waiter takes our order and provide the same to the chef in the main kitchen and at the end the waiter delivers our food. Similarly, APIs are digital waiter which takes in request from a user and sends it to the server present at the backend and delivers the output to the user.
What's Postman ?
Postman is an API platform or tool for building and using APIs.
So now lets get started!
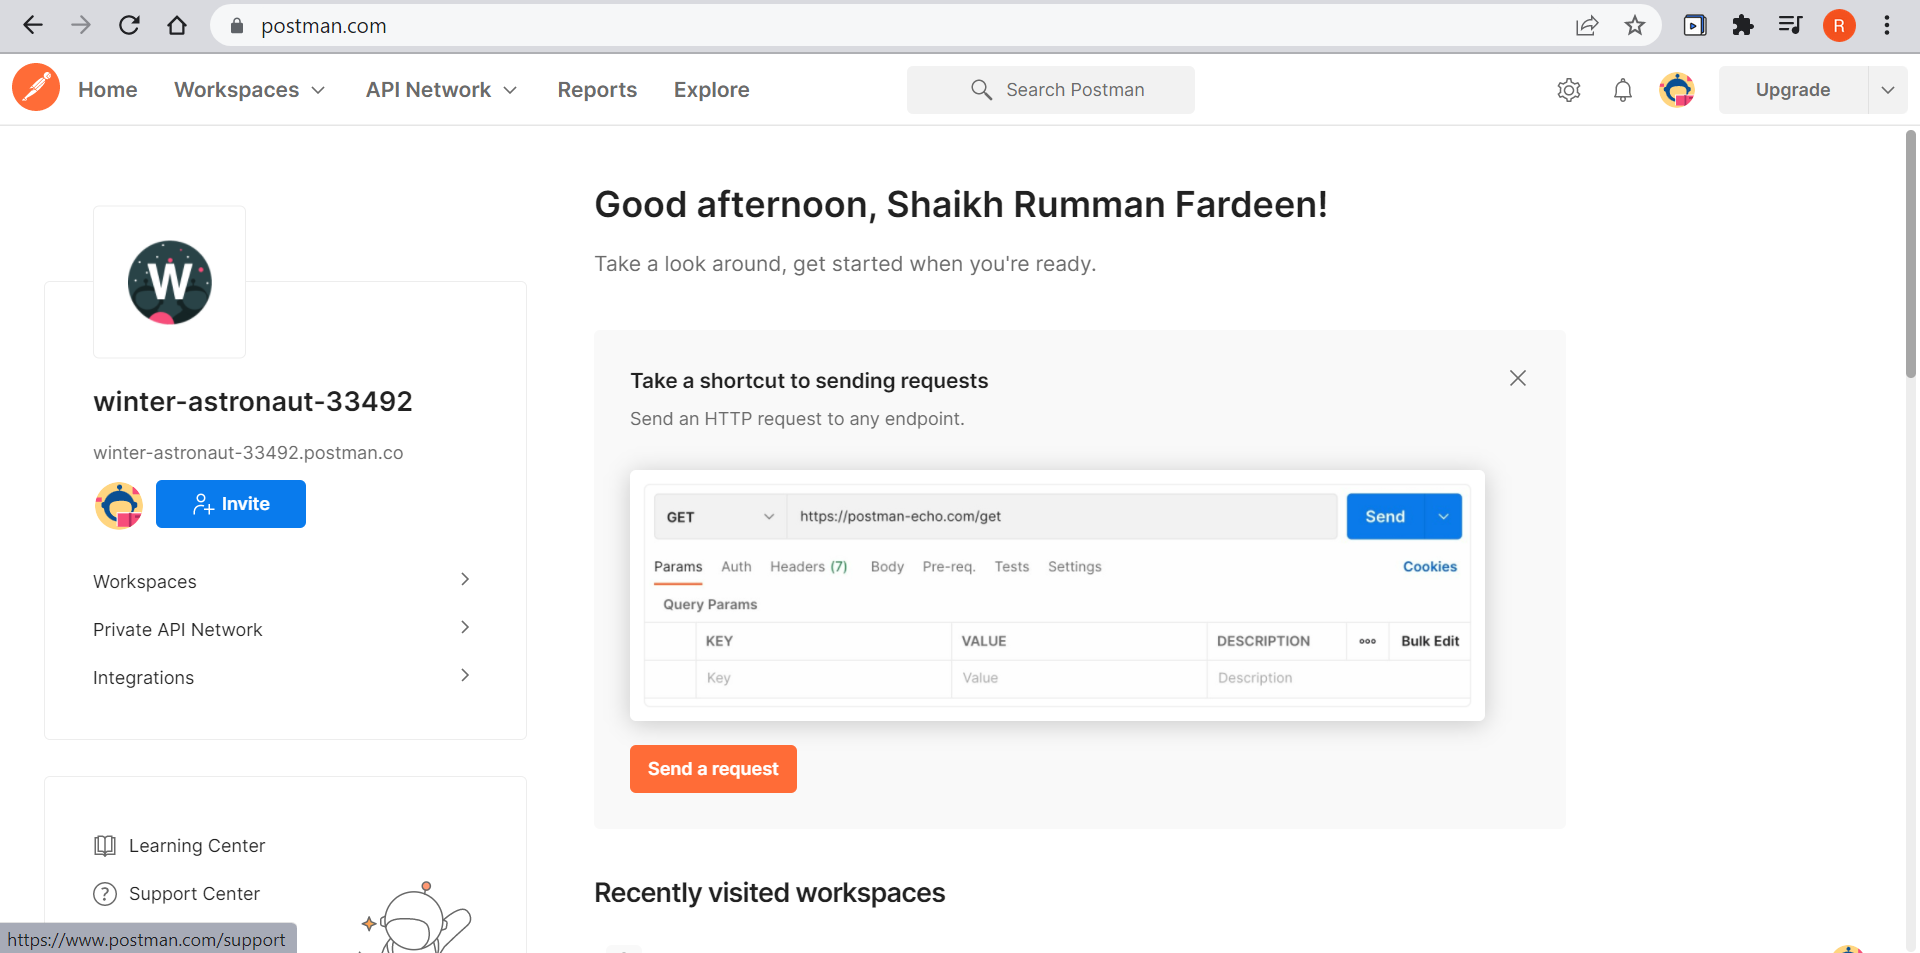
Open the Postman website in your laptop/PC and use your credentials and create an account.
Here's the link to Postman:
Congratulations you have created your account in Postman
Now go to this link Basics of API .In this link we will be forking the basics of API to our workspace. Bring your cursor to the Basics of API, on the right three dots click on it and go to "Create a fork"
 \
\
In the fork label, you can give name to your Collection folder where we will be creating and checking our APIs and in the location, choose My Workspace
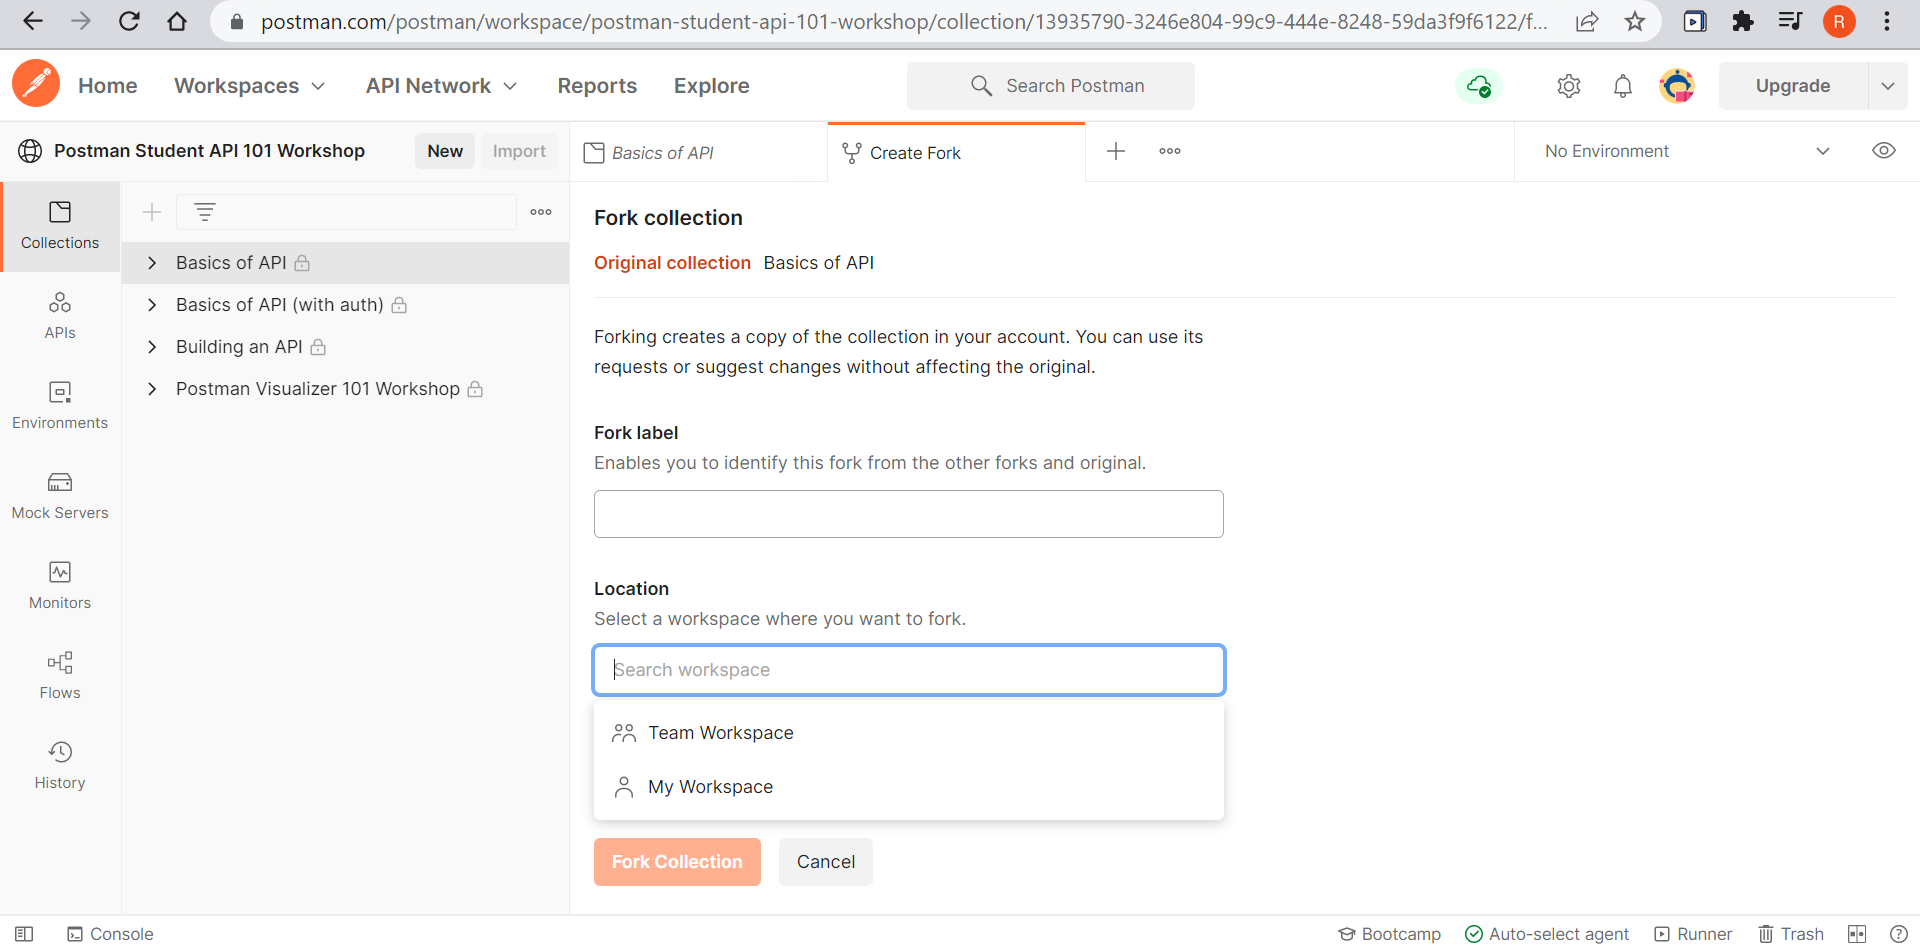 Yay! You have forked the Basics of API to your Workshop and now lets start building and deploy APIs.
We will be learning about basic requests in this blog
Yay! You have forked the Basics of API to your Workshop and now lets start building and deploy APIs.
We will be learning about basic requests in this blog
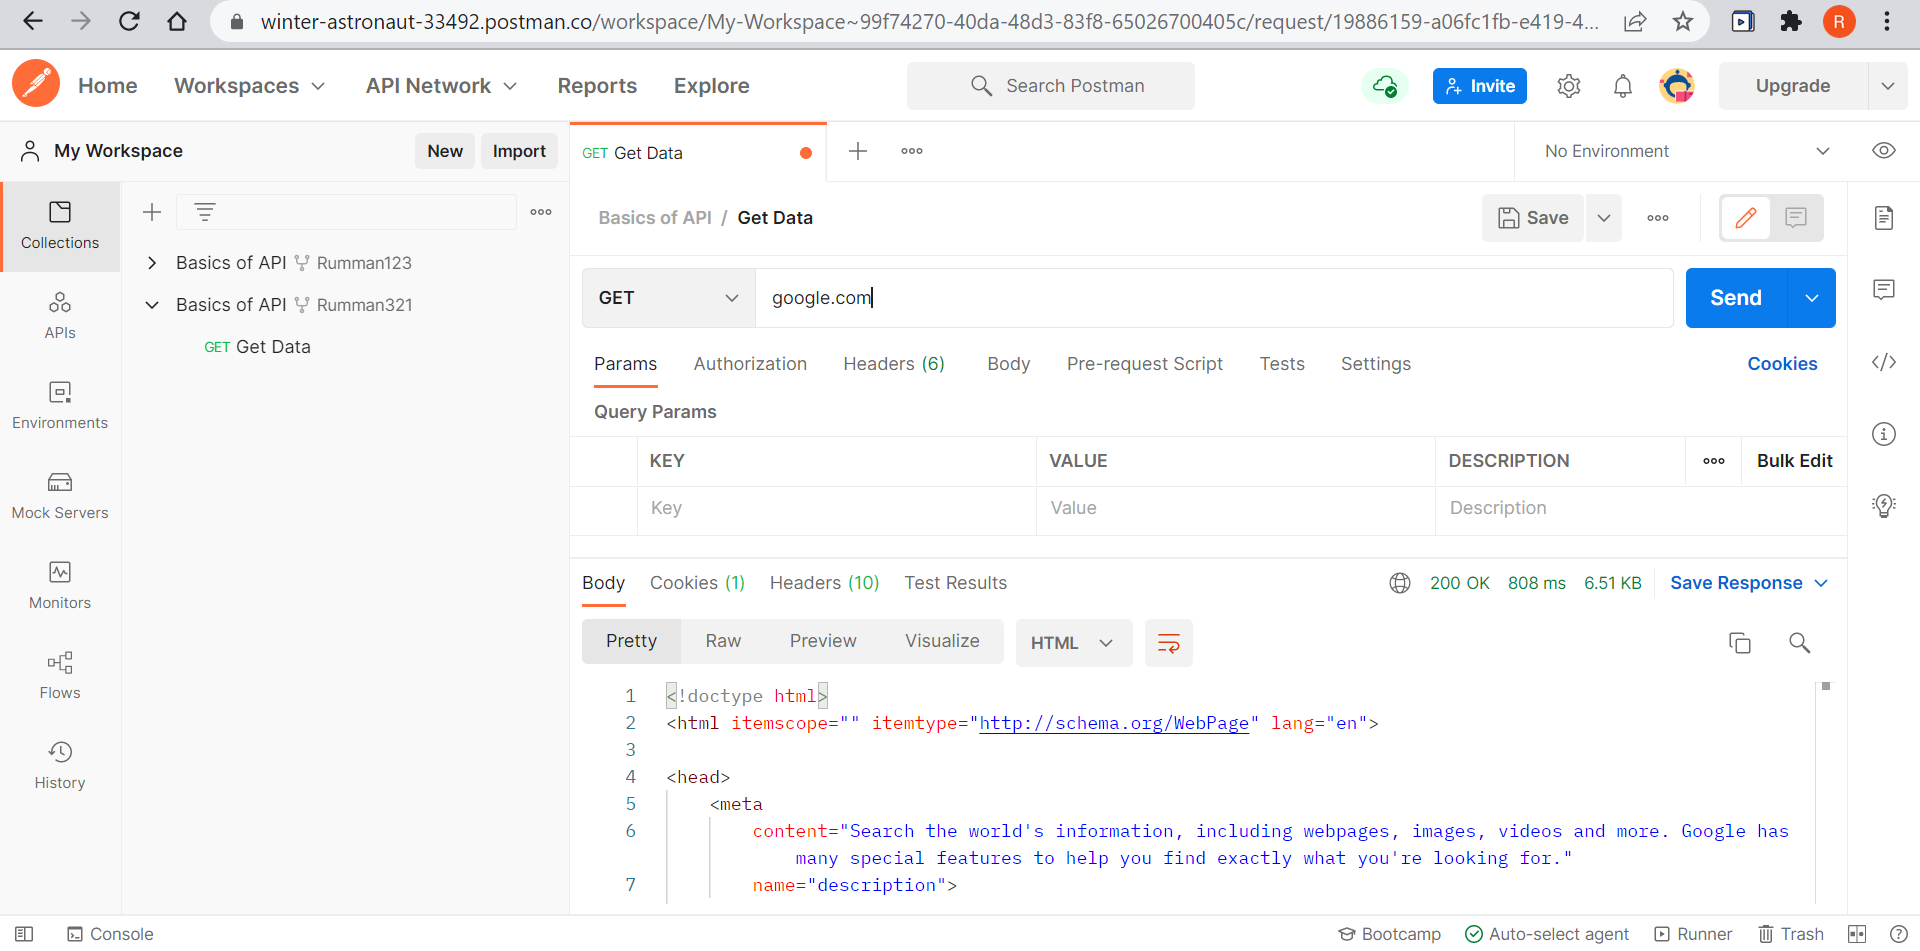
GET
GET request is used to retrieve data from a server at the specified resource. In the Get tab, type "google.com" and hit enter or click on Send. You can see the HTML code of the website and and in the preview section you can actually see the website preview.
Yay you have learnt the your very first request in Postman API. Now hold on as we will be exploring the other requests.
Now on your Collection Name (here which is Rumman321) click on the Basics of API to open the Documentation page (PS: If you are beginner to the world of developing and programming, then Documentation file should be your interest of love as this is going to help you be a better programmer), after that go to the triple dots and click on Add request
About The Documentation Tab
In the Documentation tab, you can get your know your Endpoint/Base URL where the APIs are deployed and the user can see the response. Also it has the basics definitions and the syntaxes of the basic requests like GET,POST,PUT,DELETE. Now lets learn about POST
In this blog the Base URL which you will be using is https://postman-student.herokuapp.com/joke
POST
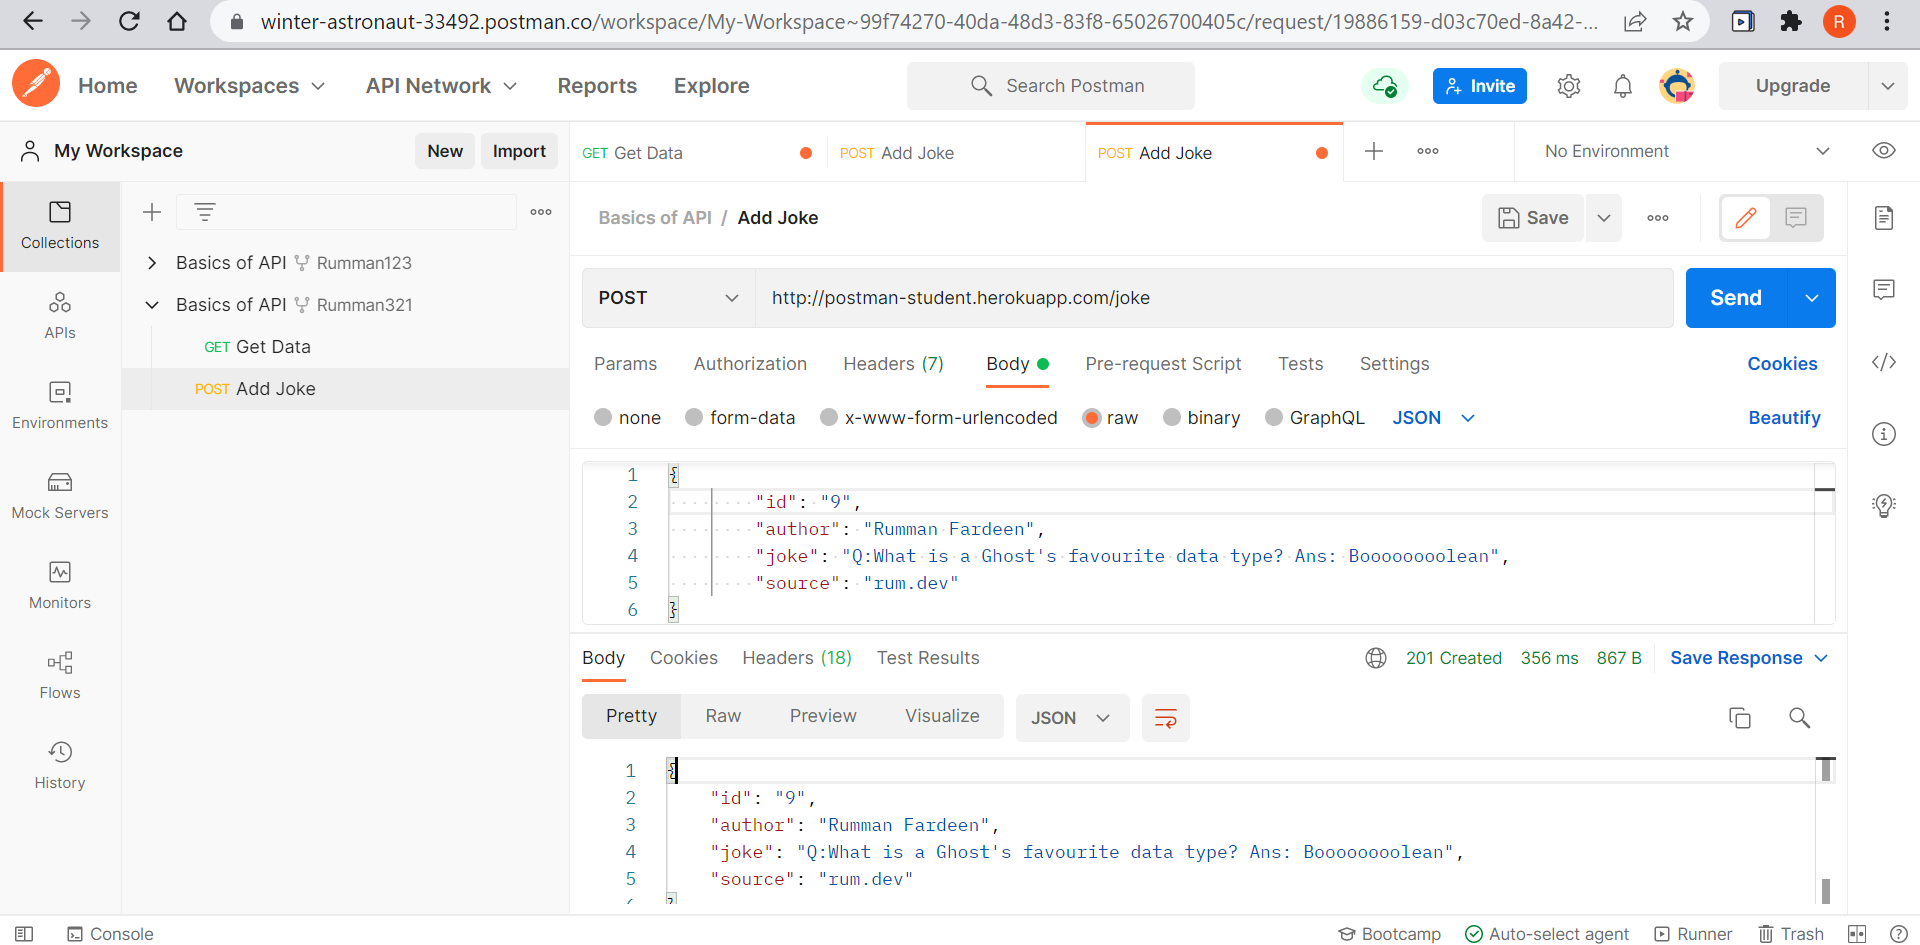
POST request is used to add your own information In this blog we will be using the Joke API with the /joke path Link to the Base URL Now Add a request and name the request as "Add Joke". In the URL section, add the base URL and change the GET to POST from the Dropdown menu. Now under the URL section, you can see other sections like Params, Authorization, Headers, Body. Click on Body. Then select raw and as you select raw , a drop down text menu appears. Select JSON as text. JSON is JavaScript Object Notation which is exactly similar to dictionaries in Python. We will be adding our jokes in JSON format. In the Text box add your joke in this JSON format
{
        "id": "9",
        "author": "Rumman Fardeen",
        "joke": "Q: What is a Ghost's favorite data type? Ans: Boooooooolean",
        "source": "rum.dev"
}
PUT
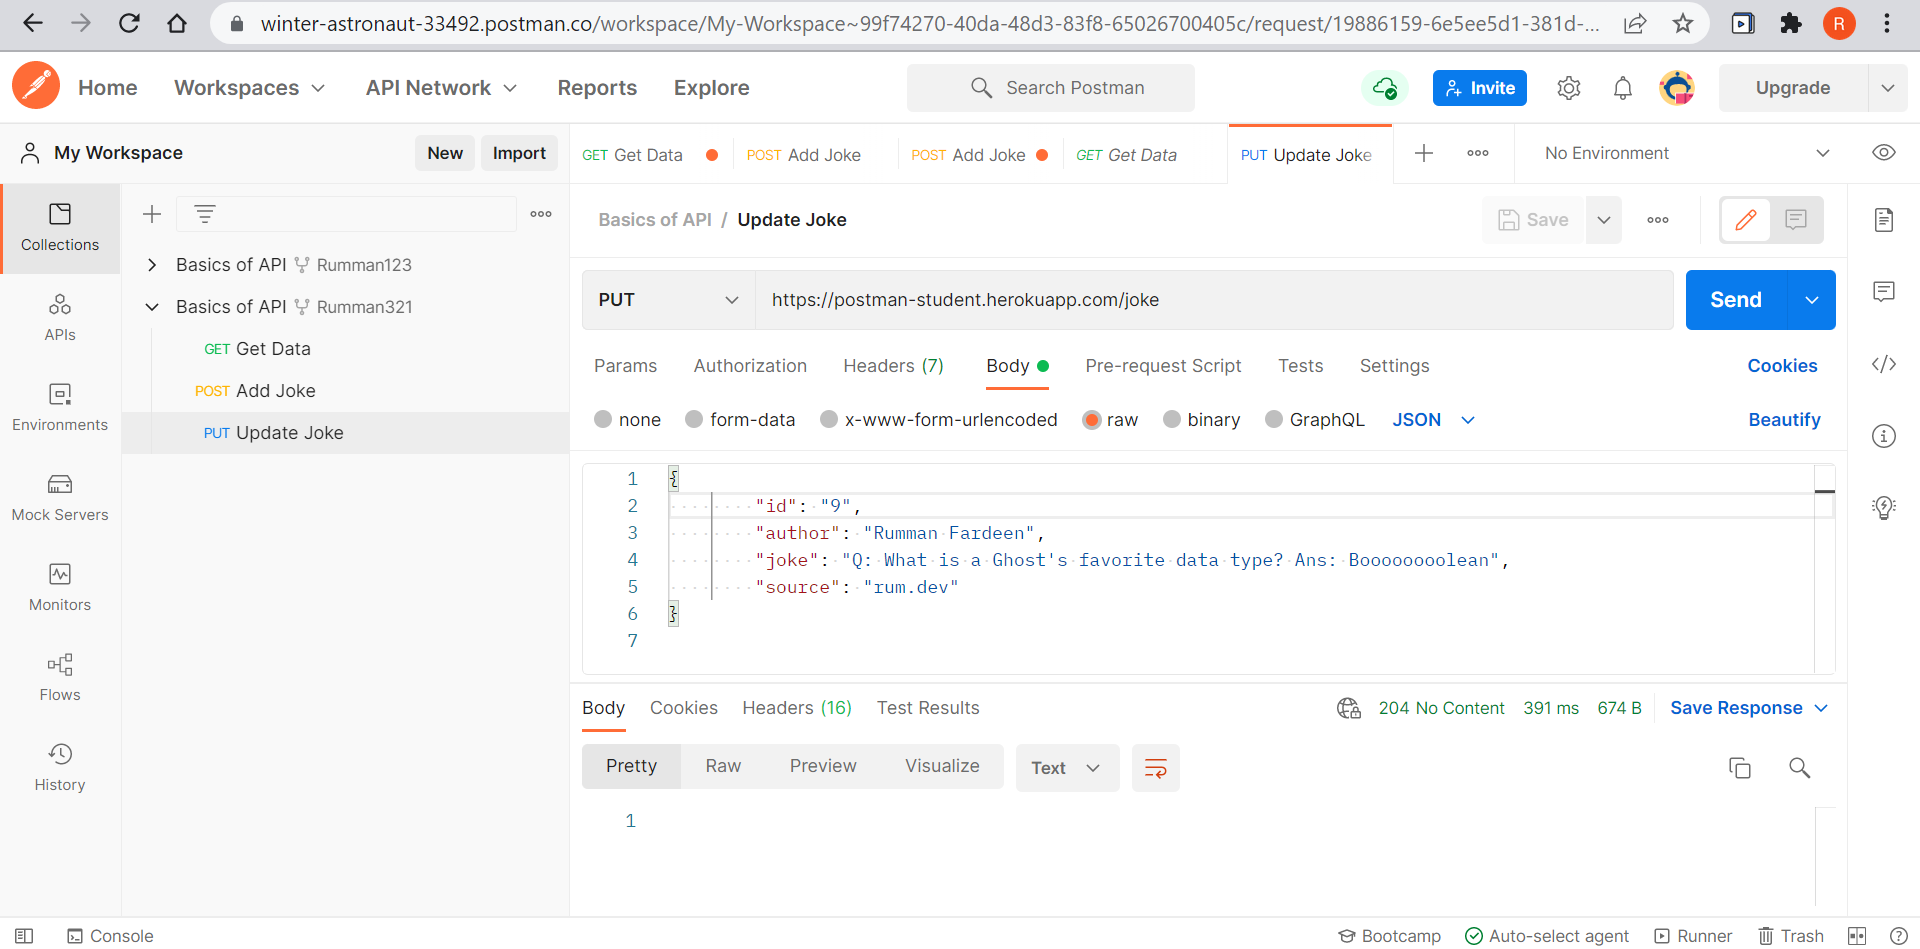
PUT request is used to update an existing JSON (here which is joke)
Add a request and name the request as "Update Joke". In the URL section, add the base URL and change the GET to PUT from the Dropdown menu. Now under the URL section, you can see other sections like Params, Authorization, Headers, Body. Click on Body. Then select raw and as you select raw , a drop down text menu appears. Select JSON as text. In the Text box add your joke in this JSON format
{
        "id": "9",
        "author": "Rumman Fardeen",
        "joke": "Q: What is a Ghost's favorite data type? Ans: Boooooooolean",
        "source": "rum.dev"
}
Here we have updated the id prop from 8 to 9. You can try by keeping the id prop as 8 and changing the joke.
Now comes the final track, deleting a joke
DELETE
Add a request and name the request as "Delete Joke". In the URL section, add the base URL and change the GET to DELETE from the Dropdown menu. In the URL section add a forward slash and add the id prop number which is to be deleted.
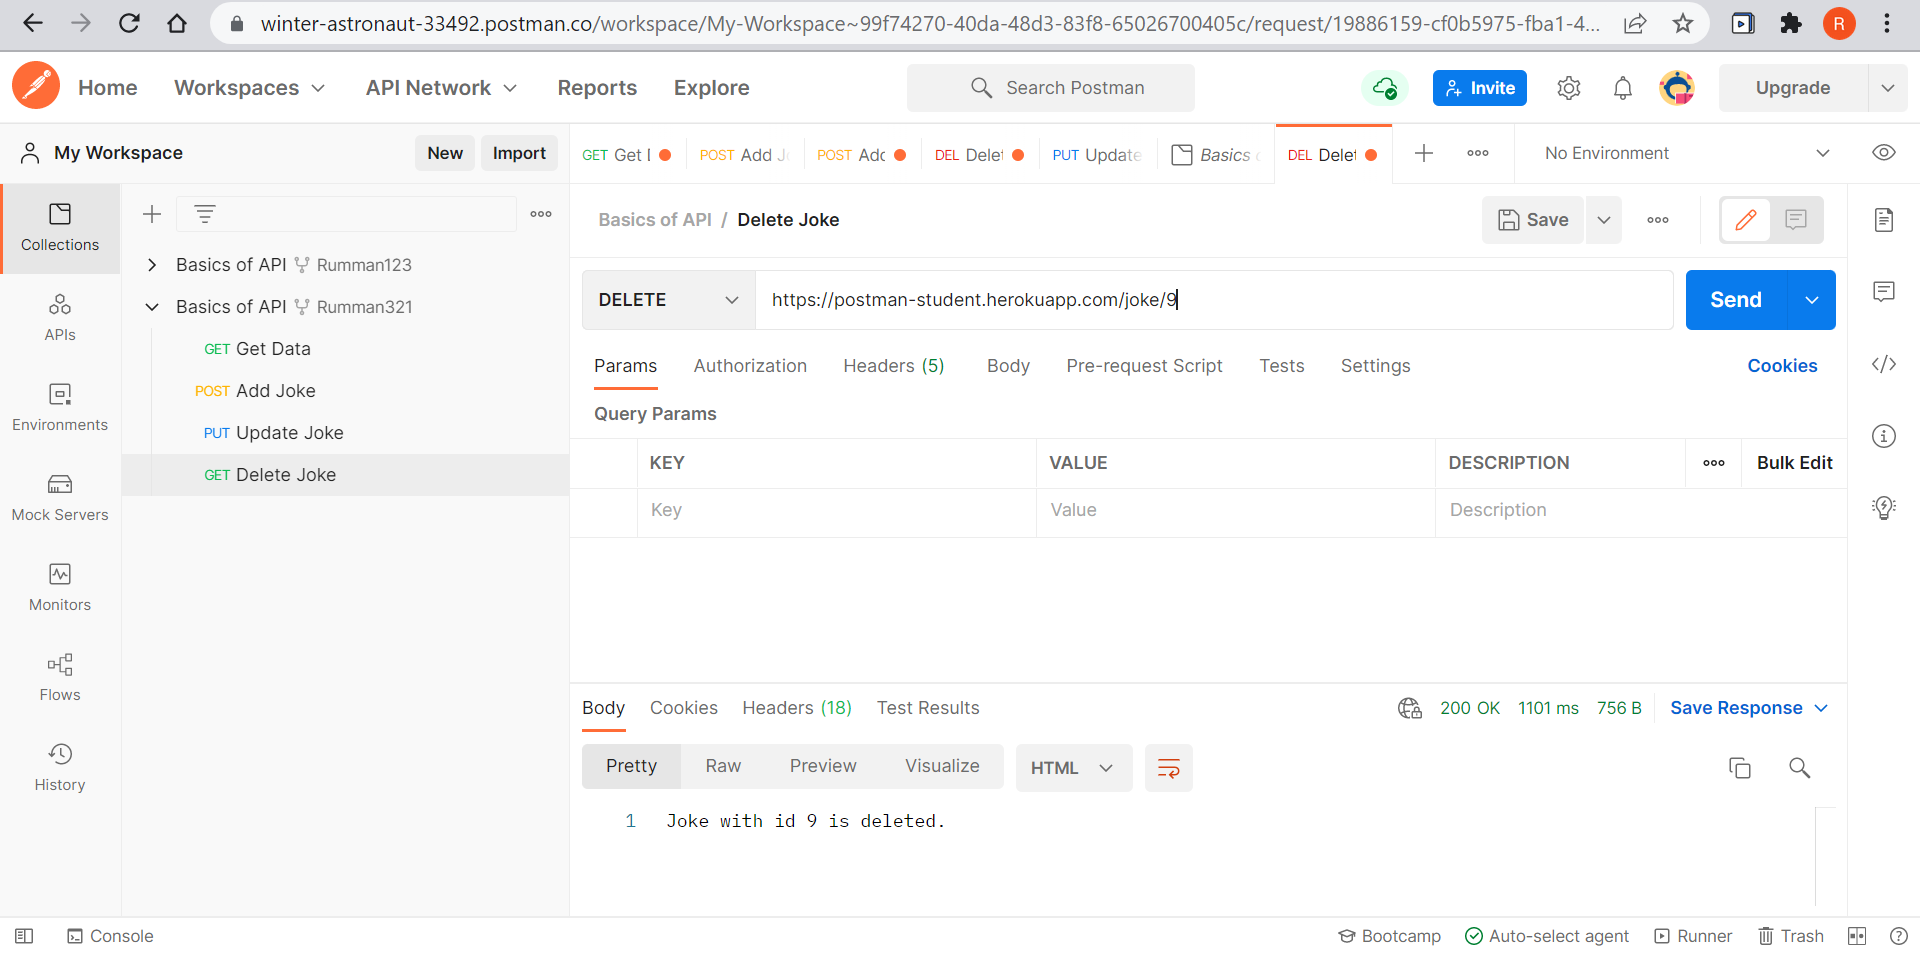
If you have reached this far, then congratulate yourself as you have completed the basic requests of API.
Thanks for holding on tight. I hope this blog has been useful as you know what an API is, what are the basic requests and how to deploy them using Postman API tool. Do share it with your friends and coding enthusiasts with the #PostmanStudent #PostmanAPI


